
Friday, January 18, 2013
Monday, January 7, 2013

Tuesday, December 18, 2012

Donna
Oil on Canvas
10.5 x 10.5 inches
10.5 x 10.5 inches
Here is a snippet from a recent portrait, done at the League. This piece is not quite complete. I had misgivings about some design and composition choices outside of my control. I do feel that the head is strong enough that it should be saved, so the final picture will likely be cropped along the lines of this image.
Friday, November 30, 2012
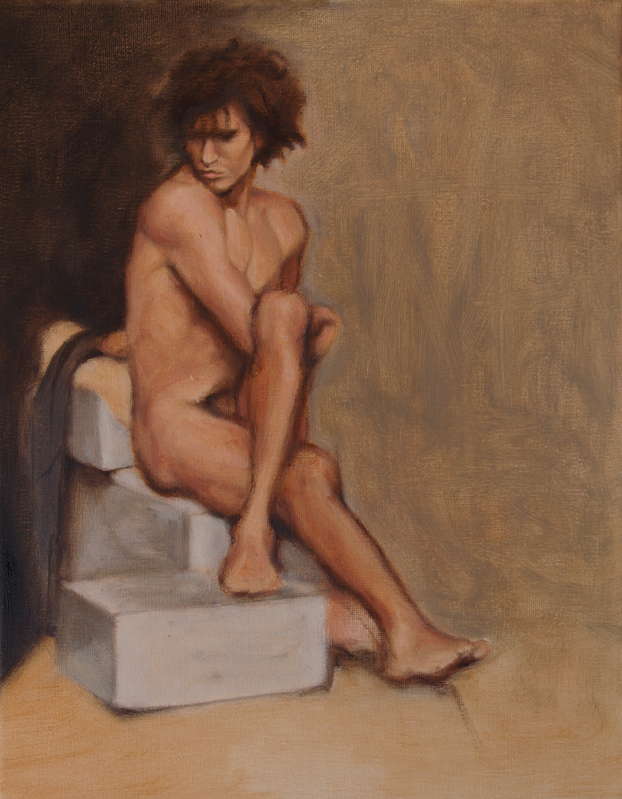
It is interesting to revisit the figure, from the vantage point of everything I have learned and experienced over the years. The classical atelier studio imparts a certain feel and character to my work.
Sunday, October 21, 2012
Picture Framing
Earlier this month, I needed to have a picture ready for a show, on short notice. The tight time frame mean that I could not order a frame and have it ready by the deadline. I chose to build the frame on my own, for the first time.
I chose a simple design, that could be made from basic wood stock. The wood I chose to use was poplar. For a decorative flourish, I rounded over and recessed each corner of the frame. This was done using a cover bit on a router table. A recess was also needed for the underside of the frame, in order to hold the picture. This I rough cut first on the table saw, by taking multiple passes, until a quarter inch slot had been cut. This was finished of on the router table so that it was uniform. The work can clearly be seen in this picture of the side profile:

The next step was to cut all four pieces to size, and miter the corners so that the frame could fit together. Getting good miters is a tricky operation. All four corners need to be exactly 45 degrees, and all equal sides must be the same length. Any errors multiply on all four sides.
I did the miter cuts on a table saw, using a miter gauge. The angles were set accurately, using a drafting triangle. Each side of all four pieces were cut in sequential order. To ensure that each side was the same length, I clamped a stop block to the miter gauge. Each piece was held against the block so that they were run through the saw at a fixed distance from the blade.

The finished pieces were carefully glued together using my framing clamp. The frame was left to cure overnight.

I picked out a wood stain that I thought was complementary to the picture. The stain I chose was semi-transparent, so that some of the wood texture and color would show through. I applied several coats and wiped it smooth.
Overall I'm pleased with the results, and I consider making more frames in the future.
Sunday, October 14, 2012

Sunday, September 23, 2012
A Pochade Box
Pochade refers to a French word meaning pocket, and what artists called small paintings that could be carried in one's pocket. A Pochade Box is a very small portable easel.
Most painting locations I work with are easy to access by car or a short walk. Longer distances with the easel, palette, and brushes are unwieldy. I decided that one of these boxes might come in handy in these situations.
I looked into purchasing a pochade box, but found the basic models too expensive for what they offered. I decided to make my own. I didn't have a lot of time on my hands, so I forgoed building one from scratch. Instead, I went looking for a ready made box that could be adapted easily to the task.

I found this child's tool box at a local second-hand store. With some modifications, it would do a nice job.

The box was stripped of all of its parts and two slots were glued inside.

I cut a small cheap palette to fit inside the box.

A piece of plywood was glued onto the underside containing a threaded fitting. The threads will mate with a tripod mount, so that the box can be set up on location.
There are a couple additional parts to add to my box. For one, the top half should have some kind of locking hinge, so that it can be held open at a desired angle. Adding clamps to hold the artwork in place, would be useful as well. This box can accommodate small pictures under ten inches. Overall, I'm pleased with the results, and the final product was not expensive.
Subscribe to:
Posts (Atom)


